

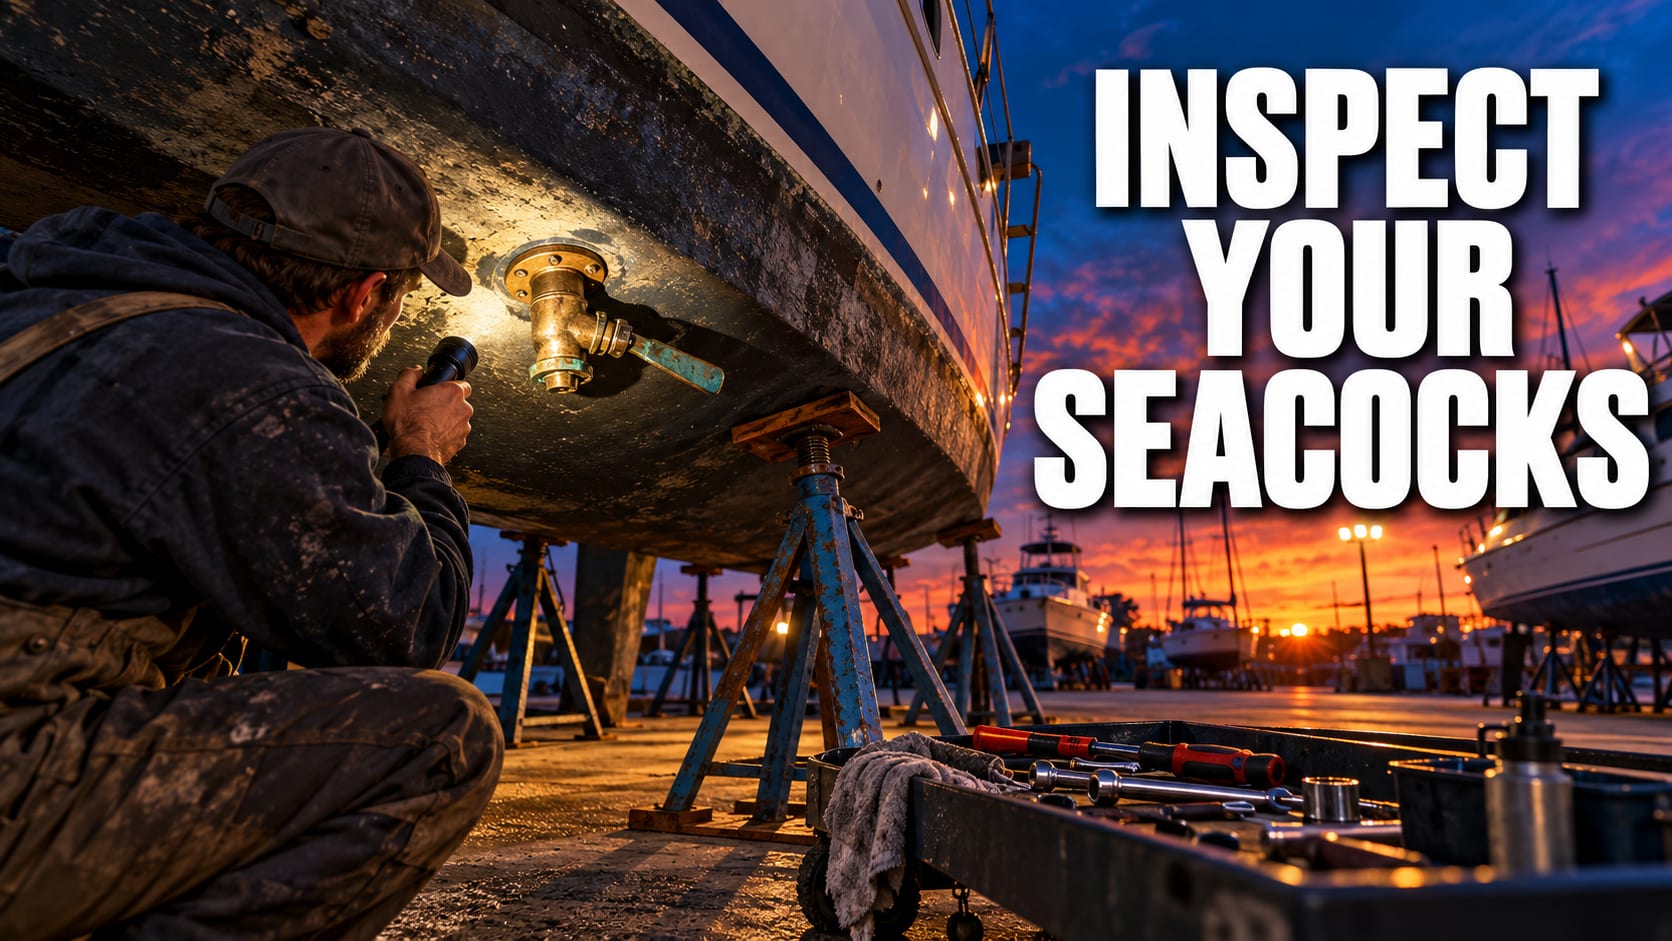

Every through-hull fitting on your boat is a hole in the hull below the waterline, and the only things between you and the water are a valve, a hose, and a couple of clamps. That's a lot of trust to put in parts most owners haven't touched in years. If you're hauling out or laying up this fall, a through-hull and seacock inspection is one of the cheapest and most important checks you can do.
Here's how I'd walk through it: what to touch, what to look for, and when a part is done.
What Through-Hulls and Seacocks Actually Do
A through-hull is the fitting that passes through the hull so water can flow in or out, and your boat probably has several: engine cooling intake, head, galley sink, cockpit drains, bilge pump discharge, maybe a livewell. A seacock is the valve attached to that fitting that lets you shut the opening off. When something downstream fails, like a split hose, closing the seacock is what keeps a small problem from becoming a sinking. That only works if the valve actually closes.
Work Every Valve Through Its Full Travel
Start by operating every seacock from fully open to fully closed and back. It should move smoothly with moderate hand pressure. A handle that's stiff, gritty, or frozen in place is telling you the valve is on its way to failing exactly when you'd need it. Marine growth, corrosion, and old grease are common causes, and sometimes working it back and forth is all it takes to free it up. If it won't move, or it moves but doesn't seal, replace it.
Haul-out is your best shot at this, and it fits neatly into the list of things to check when the boat comes out of the water, since a failed valve can't flood anything on the hard.
Spot Corrosion and Dezincification Before It Spots You
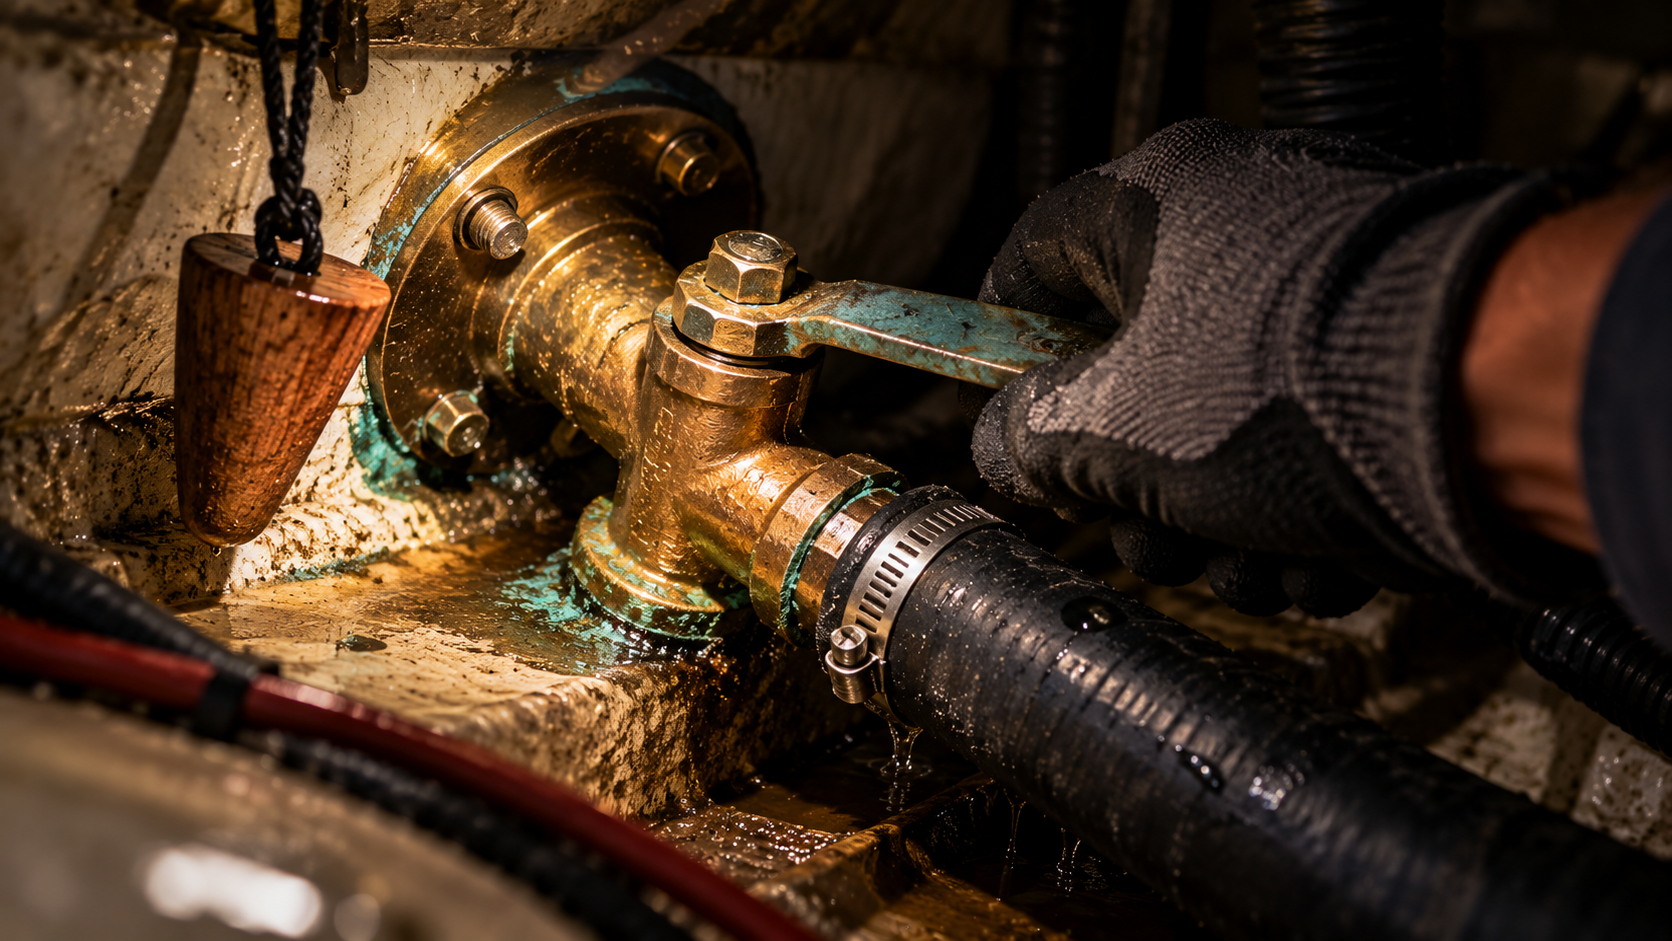
Take a good look at the fittings themselves. Metal through-hulls and seacocks should be bronze or a marine-grade equivalent. Ordinary brass can lose its zinc over time, a process called dezincification, leaving a weak, porous fitting that may look fine from across the bilge. A pinkish or reddish tint where you'd expect a yellow-bronze color is the classic warning. Tap the fitting gently with the handle of a screwdriver. A solid ring is a good sign, while a dull thud or crumbling metal means it's coming out.
Look for green crusty corrosion and weeping around the flange too, and pay attention to what your zincs have been telling you all season. Heavy wear there can point to stray current problems that attack underwater metal. Reinforced composite fittings won't corrode, but check them for cracks and impact damage.
Hoses and Clamps Are Usually the Weak Link
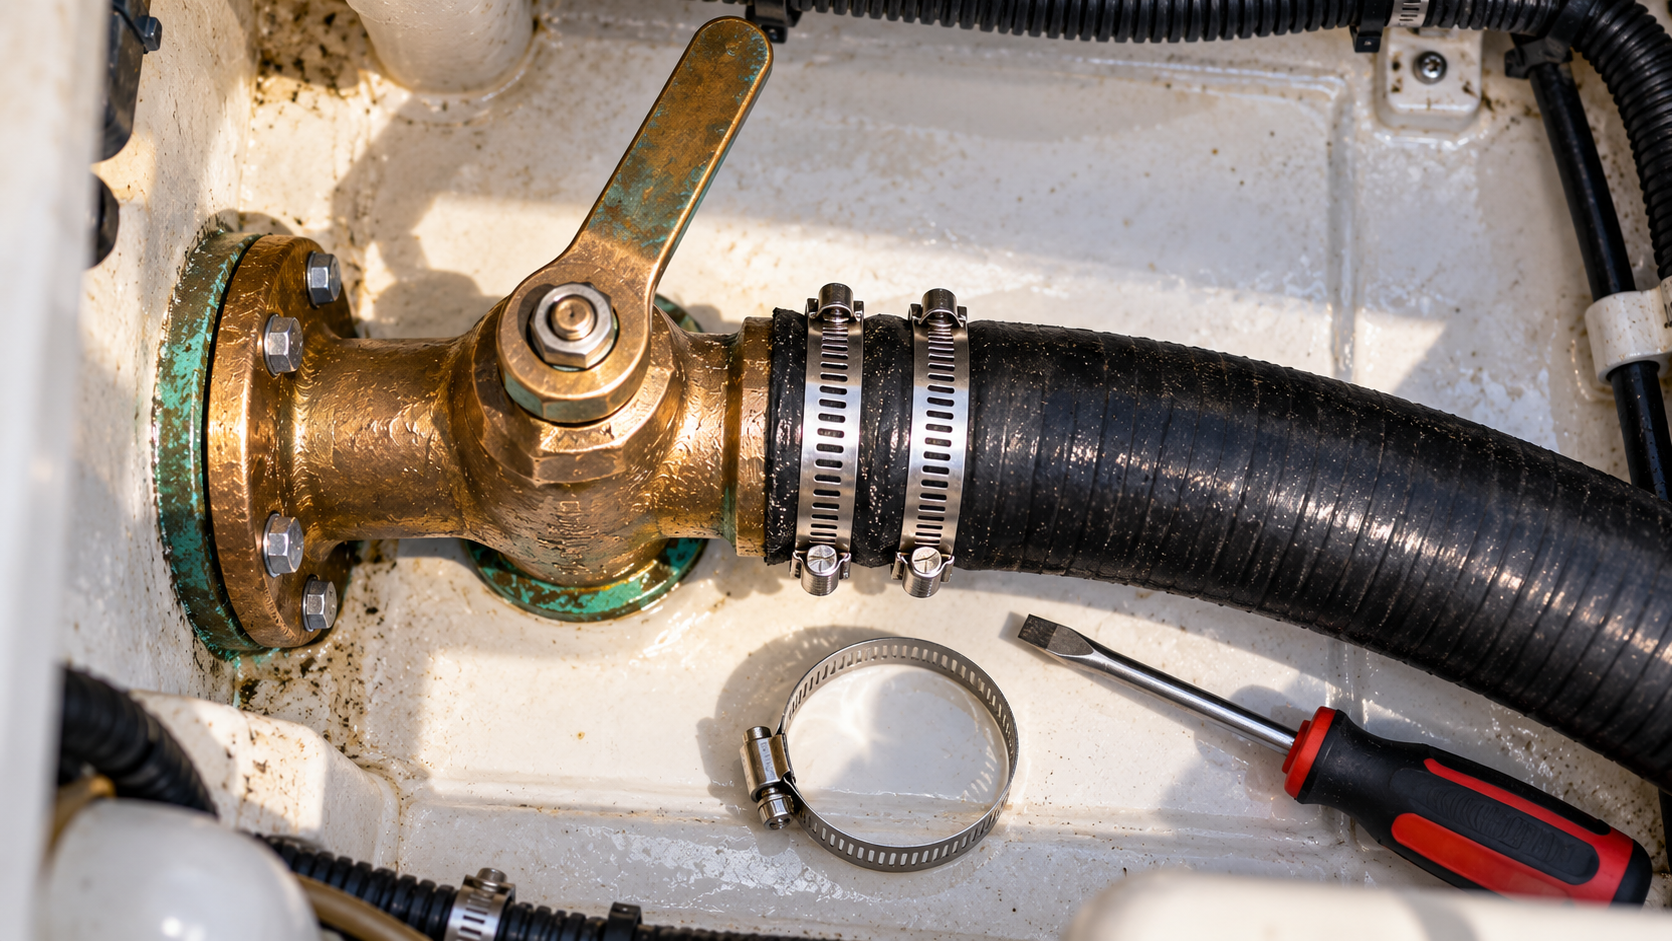
More often than the fitting itself, it's the hose attached to it that fails. Squeeze each hose along its length. It should be firm but flexible, not hard, spongy, or cracked. Check that every hose below the waterline is held on with two stainless steel clamps, not one, and that the bands aren't rusted and the screws aren't seized. Tug on the hose to make sure it isn't loose, and look for kinks or chafe where it rubs against a bulkhead or another line. Replace anything that looks tired.
This is also a good moment to confirm your bilge pump actually works, because it's your backup the day a hose does let go.
Keep a Tapered Plug Tied to Every Fitting
Even with perfect maintenance, a fitting can fail. Soft wood tapered plugs, sized for each through-hull and tied or clipped nearby, give you a fast way to stop the flow in an emergency. Make sure there's one for every opening and that it fits the size. Show your crew where they are. If you're winterizing the water and head systems, those lines connect to many of these same fittings, so do both jobs in the same session.
An Hour With a Flashlight
Spend an hour with a flashlight, a screwdriver, and a few spare clamps this fall, and you'll replace the questionable fittings on your schedule, not the water's. It's the kind of job nobody notices when it's done right.
Fellow boat owners, if you've found a seacock in worse shape than you expected, tell us about it in the comments.
