
Varnishing has a reputation for being slow, boring, and intimidating. But here’s the thing — it doesn’t have to be a nightmare. I recently re-varnished the teak brow on my boat, Lady Sheila II, as part of the Surf’s Up Build series. The last coat I put on was only about seven months old, but I’d applied it too thin and it was already showing wear. So I walked through the whole process over five days and four coats — prep, sanding, multiple applications, and plenty of lessons along the way. Whether you’re refreshing existing varnish or starting from bare wood, the approach is the same.
Why Varnish Breaks Down and When to Recoat
Wood on a boat takes a beating. Sun, salt spray, rain, dock lines rubbing across it — all of it wears down your varnish faster than you’d expect. My teak brow had spots forming where the cover was wearing on the wood, and the UV was starting to dull the finish. If you catch it early, you can sand lightly and recoat. Wait too long and you’re stripping back to bare wood and resanding the whole piece so the color stays uniform — a much bigger job. A little maintenance now saves hours later. If you’re already planning off-season boat projects, varnishing fits right into that same maintenance window.
What You Need Before You Start
The supply list is short, and everything you need comes from a single marine supply store. I used products from Defender Marine for this project. You’ll need a medium and a fine grit sandpaper for surface prep, painter’s tape, acetone for thinning and cleanup, a foam roller for application, and a quality natural bristle brush for tipping. My varnish of choice was Schooner Gold by Interlux — the Gold version is thicker than regular Schooner, so you pretty much get two coats’ worth of protection for every one you put on. That really cuts down on overall time.
I use acetone as my thinner instead of the brushing liquid Interlux recommends. It’s cheaper, and the final result comes out just as clean in my experience. If you want to go by the book, Interlux makes a 333 thinner and other brushing liquids that are purpose-built for this. And don’t skip the PPE — mask, gloves, and eye protection. Varnish fumes are no joke, especially in an enclosed space on a boat.
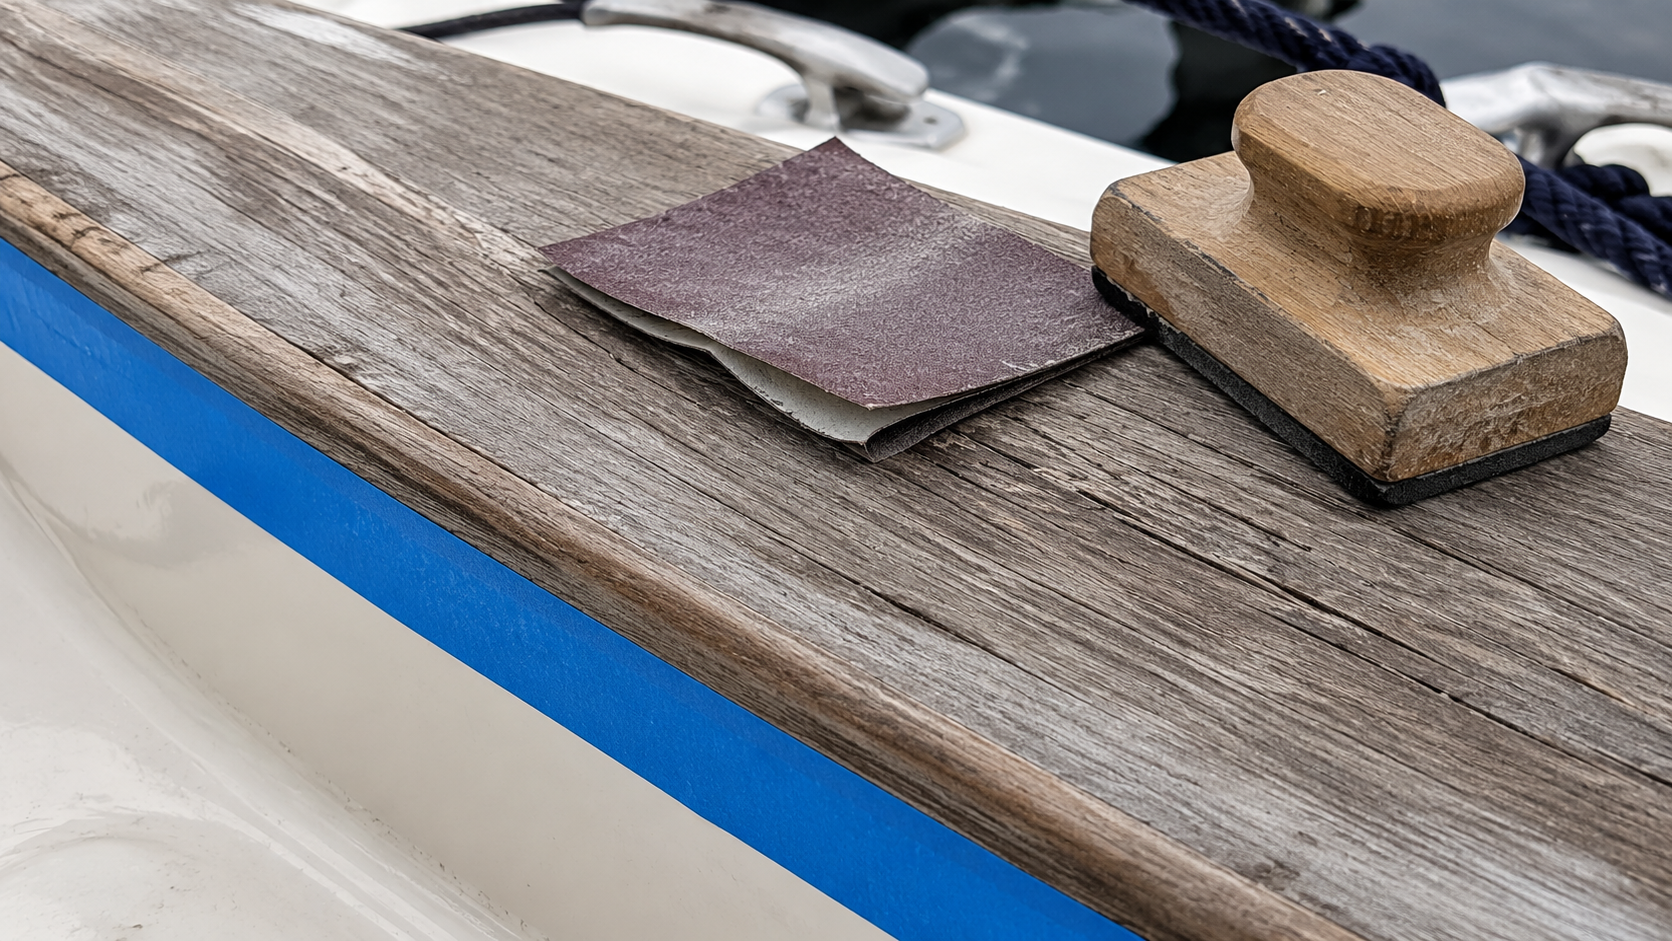
Prepping the Surface
If there’s one place where varnishing goes wrong, it’s the prep. People skip straight to the glossy coat, but if your surface isn’t properly sanded and clean the varnish won’t adhere and you’ll be doing it all over again in a few months. Start by sanding the entire surface. If your existing varnish is in decent shape, a light scuff with fine grit is enough to give the new coat something to grip. If you’ve got bare spots or heavy wear, use a medium grit first to blend those areas, then follow with a fine grit to smooth everything out. I did mine by hand — you can use power tools, but be careful not to introduce burns or grooves. I’ve made that mistake before, and you can still see through the varnish where the sander left its mark.
Once you’re done sanding, wipe the entire surface with acetone to remove dust and residue. Then tape off your edges. Take your time with the tape — clean lines make the finished product look professional and save you from scraping dried varnish off your gelcoat later.
Applying the Varnish and the Roll-and-Tip Method
If you’re starting with bare wood, thin your first coat by about 50 percent. That sounds like a lot, but bare wood soaks up the initial layer fast and thinning helps it penetrate evenly. If you’re recoating over existing varnish like I was, thin by around 30 percent to settle into any sanded or worn areas. Each subsequent coat gets less thinner — my second coat was about 10 percent, and by coat three I was at full strength, getting as much material onto the wood as possible. The whole point is building up layers of protection.
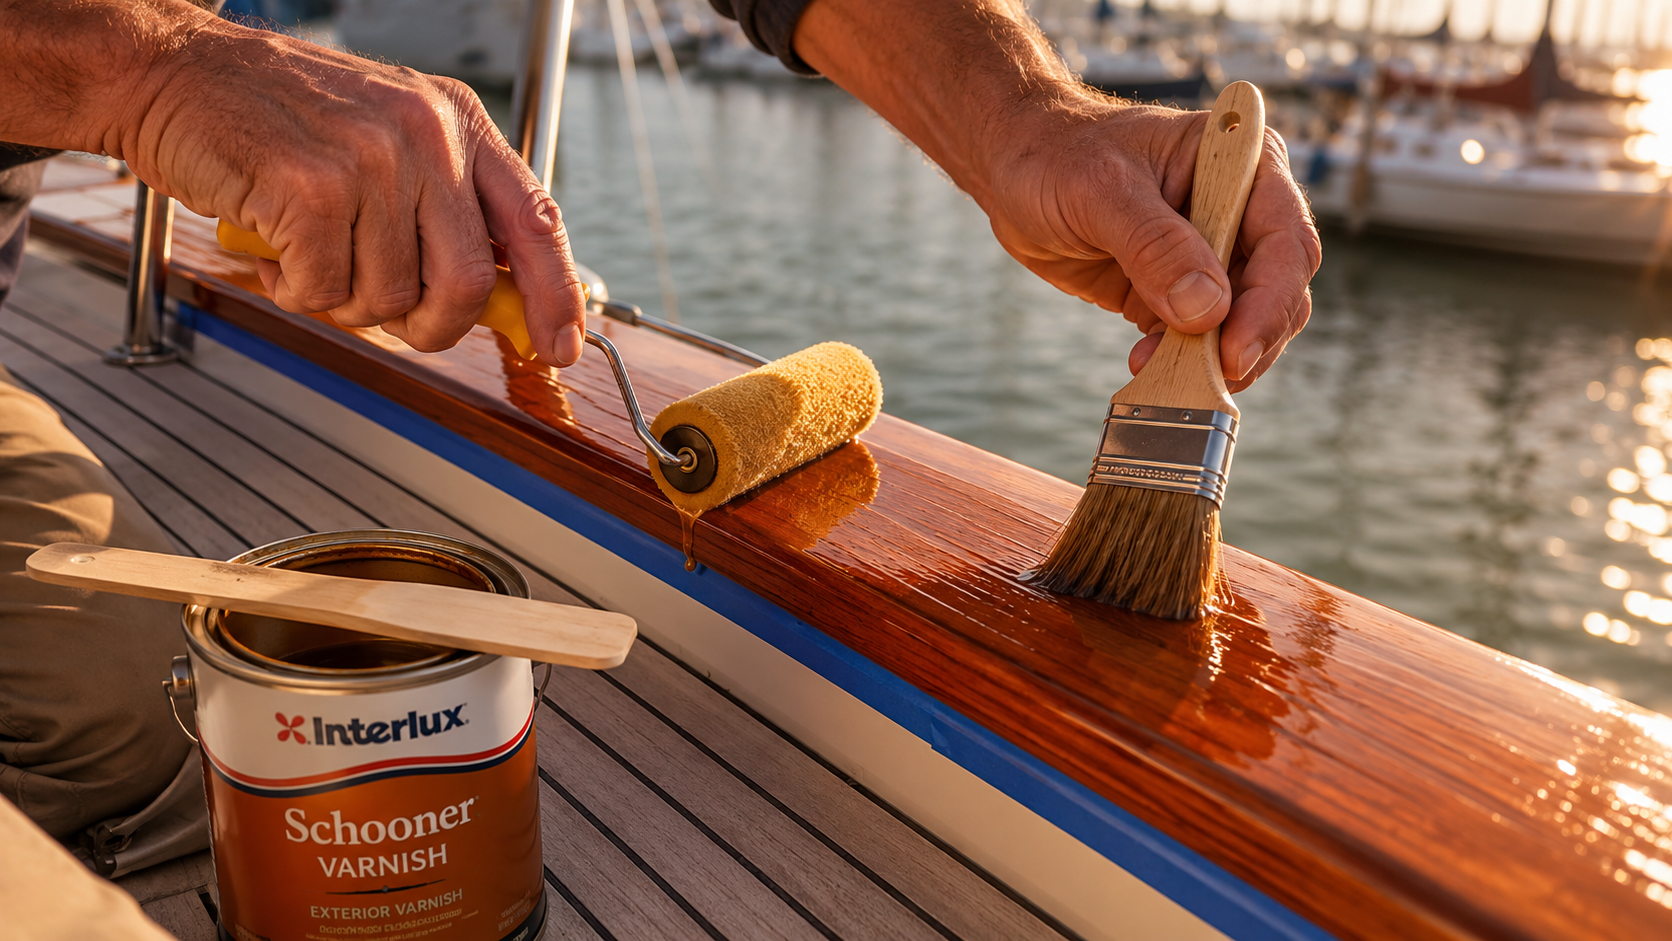
On my first two coats I only used the foam roller, and the bubbles showed — mostly from the heat of direct sunlight. When I came back for day two they were obvious, and I had to sand them down. That wasted time because if you apply the next coat within 24 hours you only have to sand every other coat. By coat three I had the badger brush in hand and the results were night and day. It’s a synthetic replica of a real badger hair brush — about 15 bucks each, which is why I didn’t bring one from the start. Worth every penny.
The technique is called roll-and-tip. You apply the varnish with the foam roller, then immediately follow behind with the brush, lightly dragging the bristle tips across the surface to pop bubbles and smooth the finish. The roller does the heavy lifting, the brush gives you that clean professional look. It’s a common technique in painting, and it works just as well with varnish once you have the right brush.
Common Mistakes and the Finished Product
The biggest mistakes are all avoidable. Applying too thin on the first round means you’ll be back sooner than planned — that’s exactly what happened to me last time. Skipping the brush leaves bubbles that harden and look terrible. Not cleaning your surface well enough traps dust under the varnish. Rushing between coats before the previous one cures means soft spots that won’t hold up to weather. And pay attention to wind — it blows dust and debris right into your fresh coat. If you’re on a mooring like I was, pick a calm day or shield your work area.
By day five, the teak brow on Lady Sheila II looked better than it had in years. I’d planned a fifth coat, but when I got down that morning everything was wet from moisture in the air with rain coming later in the week. Four thick coats of Schooner Gold was going to have to be enough — and honestly, it looked great. The water was beading right off the surface, which is exactly what you want. The whole process took about an hour of actual work each day, spread over five days for drying time. No special skills, no expensive equipment, just patience.
If you’ve been putting off varnishing because it feels intimidating, I get it. But once you see how straightforward it is, you’ll wonder why you waited. Smooth sailing.
