
Installing a lithium house bank sounds intimidating until you realize most of the work is just wiring, and there is really only one connection point where it gets tricky. This is the second half of the build, after the battery and the box. Here I pair the LiTime lithium battery with a DC-to-DC charger, the combination that finally made the house bank safe to run alongside my traditional lead-acid starters. LiTime sent me the battery after I reached out looking for a new power solution, but the principles below apply to any lithium upgrade on a boat that still runs lead-acid for starting duty.
Why Lithium
The first and biggest reason is power. Lithium uses almost all of its capacity without the voltage dropping, where old lead-acid gives up only about half its reserve before it sags into uselessness. In practical terms, this one battery stores about twice the usable energy of two 8D lead-acids combined. The second reason is size and weight: this is the Mini model, roughly 30 percent smaller than other 300Ah lithium batteries and about half the weight of three 100Ah lead-acids. And the last reason is right there on the label next to the word Mini, the word Smart. It has a built-in battery management system that keeps it from damaging itself, plus Bluetooth so you can monitor it from your phone.
Why You Need a DC-DC Charger
I am adding the lithium as its own house bank and keeping the two 8D lead-acids for starting. The trouble is that the two chemistries charge and discharge very differently, and they will not get along if you wire them straight together. Because lithium holds its voltage flat while lead-acid drops off, connecting them directly, or running the alternator straight into the lithium, causes real problems. The fix is to separate the two systems completely and bridge them through a DC-to-DC charger, which becomes the only link between them so both can run independently while staying charged. Plenty of good resources cover this, a lot of them from the RV and vanlife world, and the concepts carry straight over to a boat.
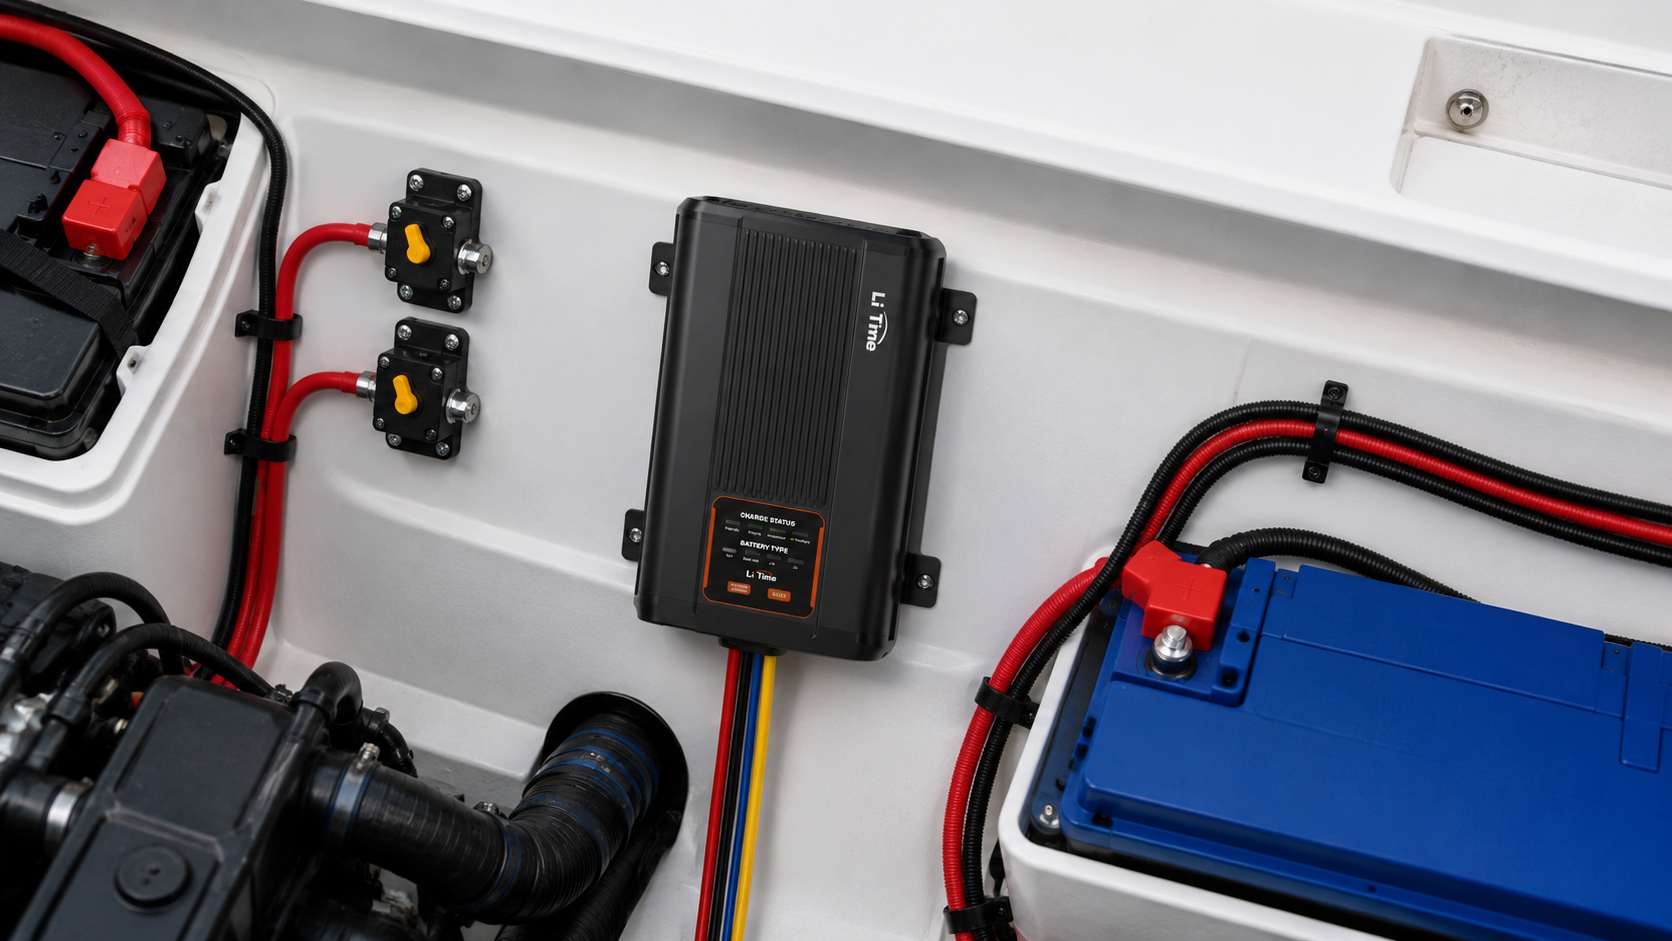
The Charger
The charger I am running is LiTime's 12 volt 40 amp DC-to-DC charger with MPPT, and I like it for a few reasons beyond the fact that it came with the battery. It is compact, so finding a place to mount it is easy. Running the same brand as the battery just makes sense, since it is all tested to work together. And the MPPT is built in. Normally that is a separate unit you buy to add solar, but here the solar connection is integrated into the charger, and it automatically switches between solar and alternator, prioritizing the alternator when the engines are running.
The Install
I wired this entire boat myself five years ago, so I know exactly what feeds the system. The only thing I left on the 8Ds is the bilge pumps. The existing cables were shorter than I needed, so I measured and cut new cable, and I had to crimp different lugs because the lithium terminals are a bit smaller than the old lead-acid ones. With the battery box in place and the new house system set, I left the negative terminal disconnected and moved to the charger. It comes with everything you need and nice quick disconnects, but on the recommendation of the wiring diagram I added circuit breakers on both sides, a 60 amp on the input and a 50 amp on the output, since the charger is rated at 40 amps. I am also skipping a battery switch for now. Everything runs off a DC breaker panel, I am adding solar soon, and a switch at the battery would cut it off from the charger. If parasitic draw becomes an issue, I will add one later.
Wiring It Up
The charger has four main connections made up of seven wires. The first pair is the positive and negative for the MPPT, which is solar, something I will deal with later. The second is an accessory wire for boats with small alternators. Mine are traditional dumb alternators, so the charger simply reads when they are putting voltage to the starting batteries and charges the house battery on its own.
Here is the part that trips people up: you wire the output side first. Run the positive output to your positive bus bar so it feeds the whole system and charges the house battery, and run the negative output to the negative bus bar ahead of any shunt or monitor. You do the output first because the house battery powers the charger and lets you select the battery type before the input side starts charging.
Then take the positive input through the 60 amp breaker to the starting battery switch, and connect the negative input directly to the terminal on the starting battery. I made a mistake here worth flagging: I tried running the input negative to the same bus bar as the output negative, figuring it was all the same ground. The charger would not turn on or read the right voltages. The input has to connect as directly to the starting battery as possible so you are not losing voltage across distance and connections.
One last feature worth knowing is the reverse charge button. If your starting bank ever gets too low, anywhere from 3 to 12 volts, you can hold it down to push power from the house battery back into the starters and get the engines going.

What Is Next
The goal is a boat that can run any piece of equipment indefinitely and be monitored from anywhere, and the next project on the list is a dedicated battery monitor so I can see exactly what this house bank is doing in real time. Big thanks to LiTime, go check out their batteries. You will be surprised how much power they fit into something this small.
