
Welcome to Serves Up episode 4, and I think this is going to be my favorite episode by far because today we put the final piece of the puzzle into the boat’s power system — solar panels. The 12 volt DC setup will be complete after this. We already installed the lithium battery in episode 1, set up a DC-to-DC charger for engine charging in episode 2, and added a Victron battery monitor in episode 3. Now the crown jewel goes in. I picked up two 100 watt Xantrex solar folding panels from Defender Marine — they are my go-to retailer for everything boat related because they have excellent support and can get you anything you need for your vessel. For more.
The Panels
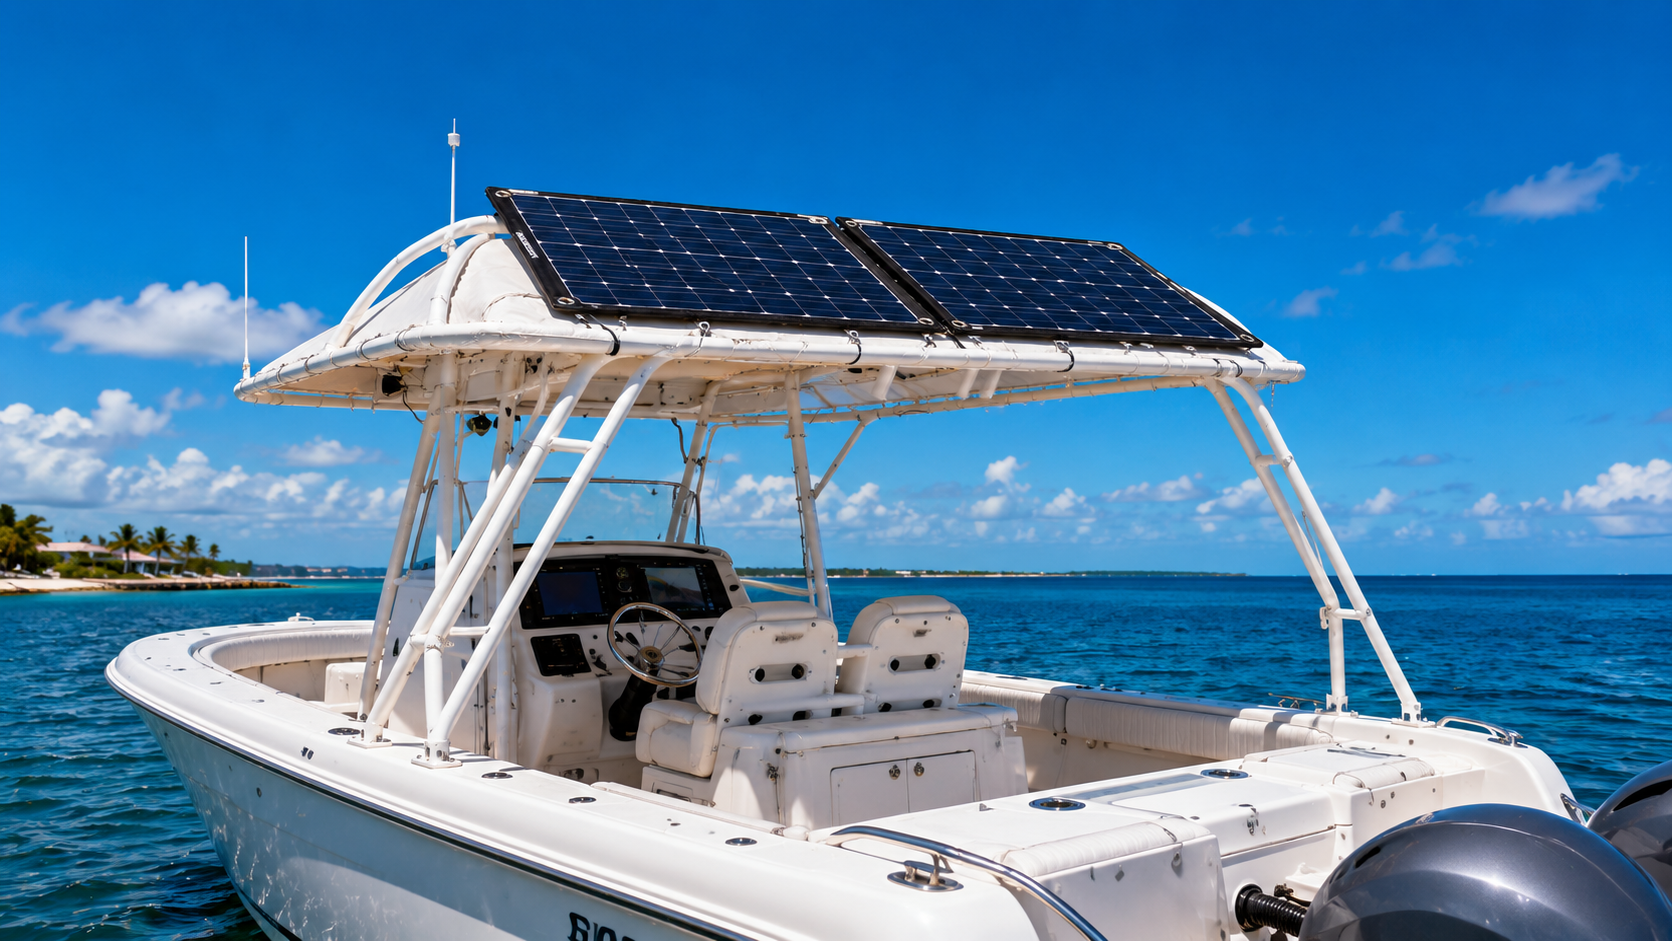
The reason I chose the Xantrex panels is they fold up into a little briefcase with a canvas cover. That is perfect for my boat because when I am not underway I can lay them out on the bow or up on the bimini, and when I am underway I fold them up and put them away so they do not get lost. Each briefcase is actually three 33 watt panels sewn into the canvas to make 100 watts total. On the back there are built-in kickstands so you can angle them toward the sun, which I found gives about 10 to 30 percent better performance compared to laying them flat. Inside the pouch you get an LCD charge controller, a couple different cable options, and the cable to connect the panels to your charger. Since my DC-to-DC charger from episode 2 already has a solar charge controller built in, I did not end up using the included one — but it is a nice unit with a temperature sensor, two USB ports, and what looks like a light connection.
Choosing the Right Connections
Before getting into the install, I had to decide between two connection types. The panels come with a traditional solar panel connection that is small and simple — easy to mount with a small through-hole and no big block. But I also had larger weatherproof connections with O-ring seals that are much harder to accidentally pull apart, and I had a Y bracket so I could connect both panels into one cable going to the charger. The weatherproof route meant I had to cut off the original Xantrex connections and splice on the new ones, which I felt a little bad about because the original quality is really nice. But the O-rings and security won me over.
Running the Cables
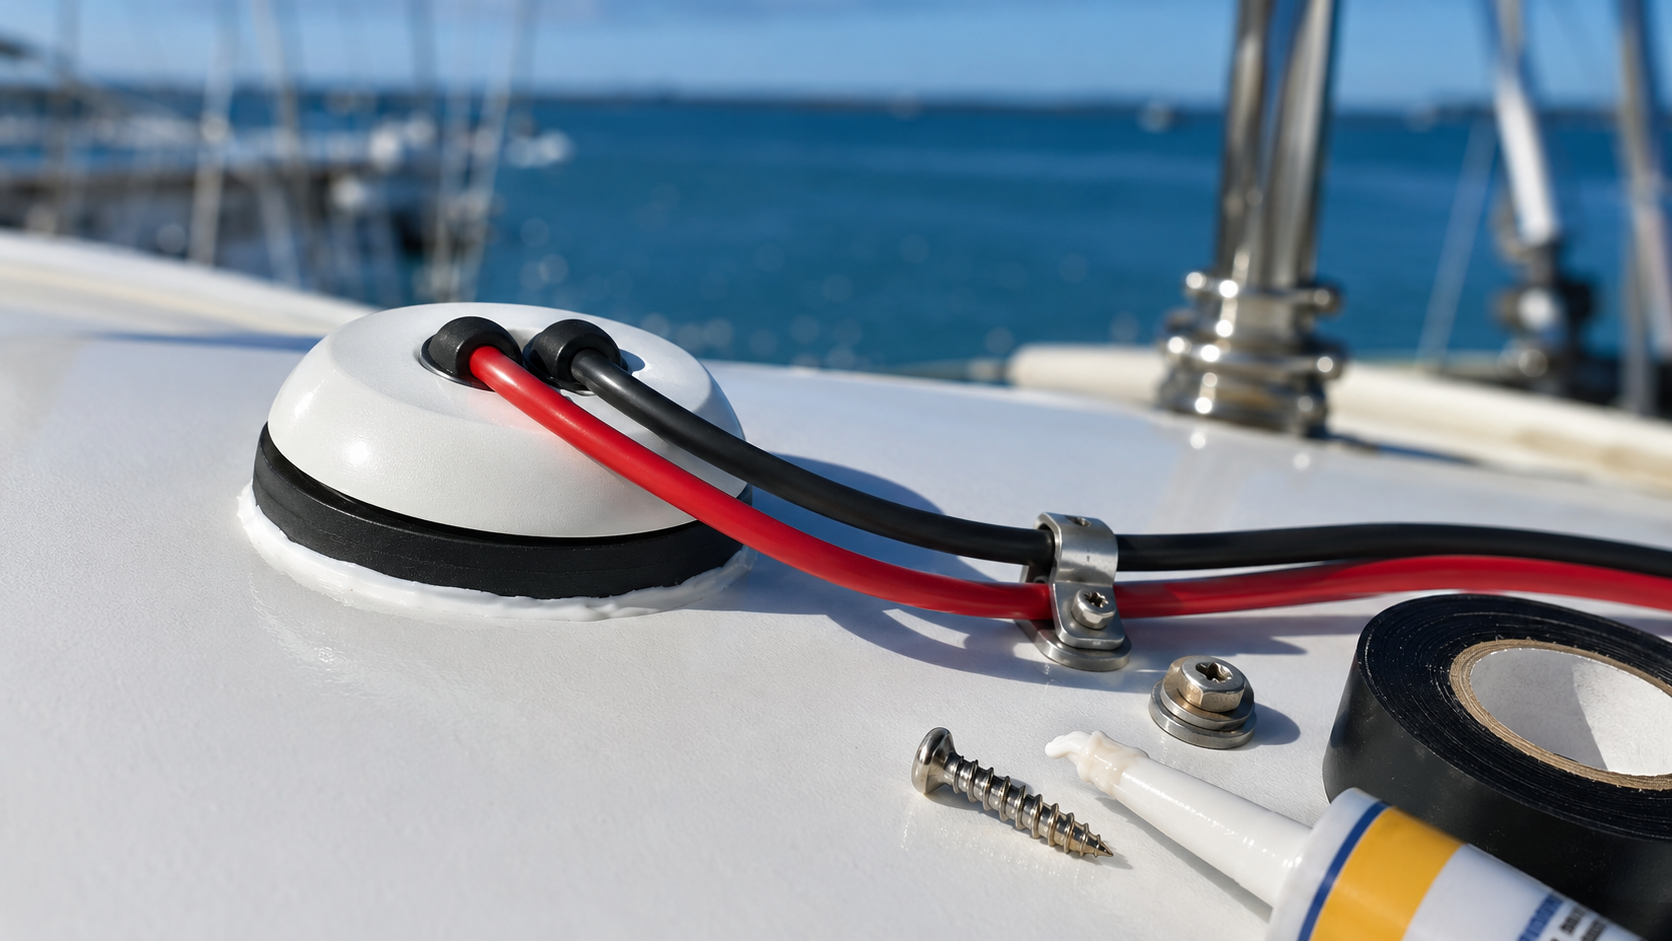
The hardest part of this project was getting cables from the outside of the boat to the inside cleanly. I found a van roof cable gland on Amazon and mounted it under a seat. Before drilling, I spliced 15 foot extension wires onto the solar cable so the whole run would be one continuous piece — that way I would not have to splice from inside the engine room later where access is difficult. I sealed the gland with silicone to keep it waterproof, measured the cables to reach the battery charger at the right length, and made the final crimped connections to the charger. On the outside, the cable runs forward along the bimini with a cover over it to keep things clean, connects to the Y bracket, and then each solar panel plugs in.
The Results
With everything connected, I checked the Victron battery monitor and the display read 5 amps at the time of filming — about 70 watts. An hour and a half earlier it was doing over 7 amps, which is about 90 watts. Not incredible numbers, but it was winter and from what I can tell that is pretty standard for the time of year. On a sunnier day with the panels angled properly, 200 watts of capacity should keep the lithium battery topped off nicely. I am thinking about whether to leave the panels on the bow or move them to the rear cockpit where they would be safer from weather, sea lions, and passersby — but there is more shade back there, so we will see.
I am already thinking about adding a third panel. The whole system — lithium battery, DC-to-DC charger, Victron monitor, and now solar — means this boat can run indefinitely on a mooring, at anchor, or underway. Whether we move on to an inverter and do the AC side later is still up in the air, but the DC setup is complete. The boat also got some work at the shipyard recently — a fresh wax and buff on the hull plus new bottom paint. Thank you to Defender Marine for providing these panels. They are amazing and I cannot wait to keep using them. Smooth sailing.
If you want to see the earlier episodes of this build, check out the lithium battery install — [FUTURE LINK: How to Safely Wire a Lithium Battery and DC-DC Charger on Your Boat] that started it all.
